As explained in one of our previous articles CDN: Always use one on your website, any website should use a CDN.
Traditional web hosting is no longer capable of meeting the demands of websites in terms of traffic.
CDNs are now responsible of serving content on a majority of websites.
This articles explains how you can configure CloudFlare as a Free CDN for your website in a couple of easy steps.
Setup the CloudFlare Account
- go to cloudflare.com and signUp
- once done, click on Add a Site on Cloudflare home page
- Type the name of your website
- Select the plan: Free
At this point CloudFlare will scan an import all your existing DNS entries. Just check them an hit continue.
Update DNS servers
Next step is updating the DNS servers of your current provider. This operation shouldn’t take more than a couple of seconds.
You should replace your current nameserver with CloudFlares:
- iris.ns.cloudflare.com
- woz.ns.cloudflare.com
Once done click Done, check nameserver
This normally takes 10 15 minutes, but it depends on the DNS server settings of your current hosting provider. It shouldn’t taje more than an hour.
A couple of settings more
Once CloudFlare validates the change in nameservers, you will have access to the dashboard in regards to your website.
Remember, from now on all your DNS records changes should be applied on Cloudflare.
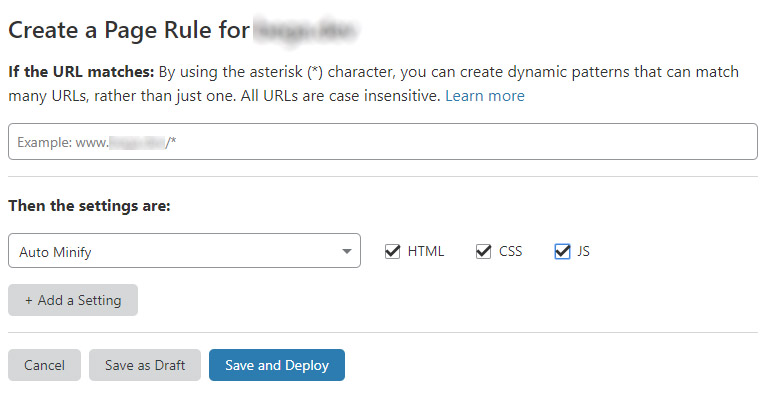
There is one important Page Rule you must activate as it will give you a great boost in the performance of your website: Go to Page Rules, Create Page Rule, type your domain [mydomain.com]/* and select the rule called Auto Minify. Check HTML, CSS and JS.

Hit Save and Deploy and that’s it, you are using a CDN!


